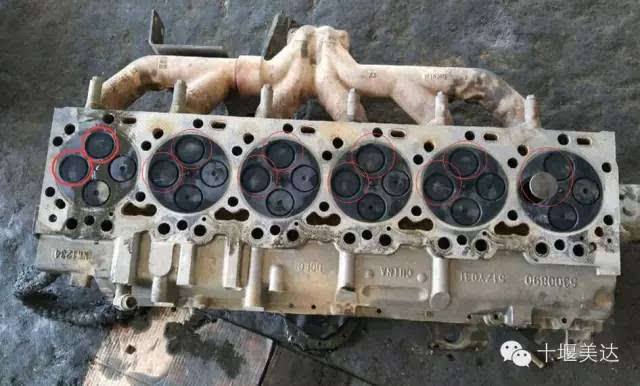
The main job of the cylinder structure is to constantly open and close the valves in order to complete the exchange of gas. In the process of finishing the work of the valve, the valve seat should be constantly hit, so that the valve seat working face grooves and widens. In the exhaust process, the exhaust valve seat is also scoured by high temperature gas, which makes the working face oxidized and ablated spots and pits. Therefore, common damage form is wear, valve seat surface spots, such as severe pitting and burning loss, the damage will affect the sealing performance of the valve and valve seat, valve closed lax, inadequate intake, exhaust not net, affect the normal work of the engine, causing shortages of diesel engine power exhaust smoke, gas channeling, crankcase oil as well as the bad. Therefore, in use, when it is found that the valve is not strictly closed, it must be checked and repaired in time.
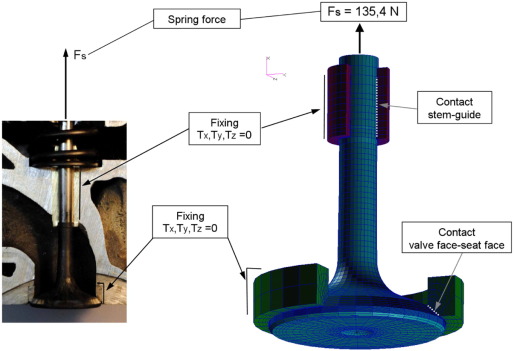
1. Causes of injury and treatment
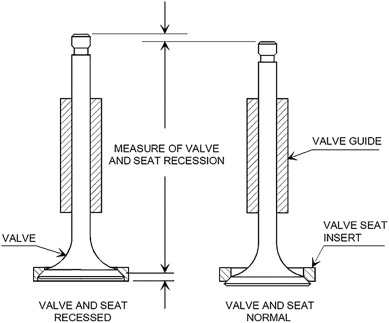
(1) In the engine work, the valve seat bears a large reciprocating impact load, after a period of use, there will be increased valve sag, lax sealing and other phenomena. When the upper edge of the valve seat working cone is lower than the cylinder head plane (overhead valve) or 1.50mm lower than the cylinder block plane, or the valve top plane is lower than the top surface of the valve seat 0.50mm, it should be replaced.
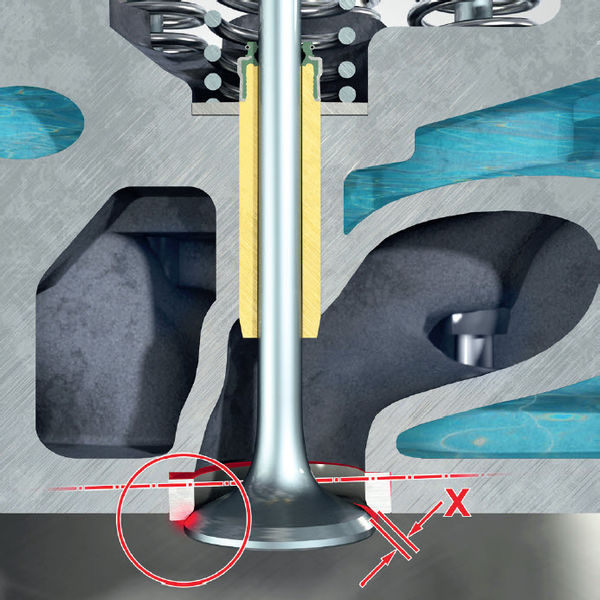
(2) when the engine is working, the valve seat ring and valve are always in a state of high temperature, high pressure and dry friction. The valve seat ring is also affected by the long-term impact of the valve working cone. The valve seat working cone will appear cracks, incomplete, spots, corrosion, holes and serious burning loss. When these defects cannot be repaired, re-insert air change door seat ring.
(3) when the valve seat ring is not matched with the seat hole, the seat ring will become loose and fall off naturally under the action of its own weight. If the seat ring is found to fall off late, the broken seat ring will lead to valve head fracture, resulting in piston rupture and cylinder head combustion chamber cracking and scrapped. Therefore, once found, should be replaced immed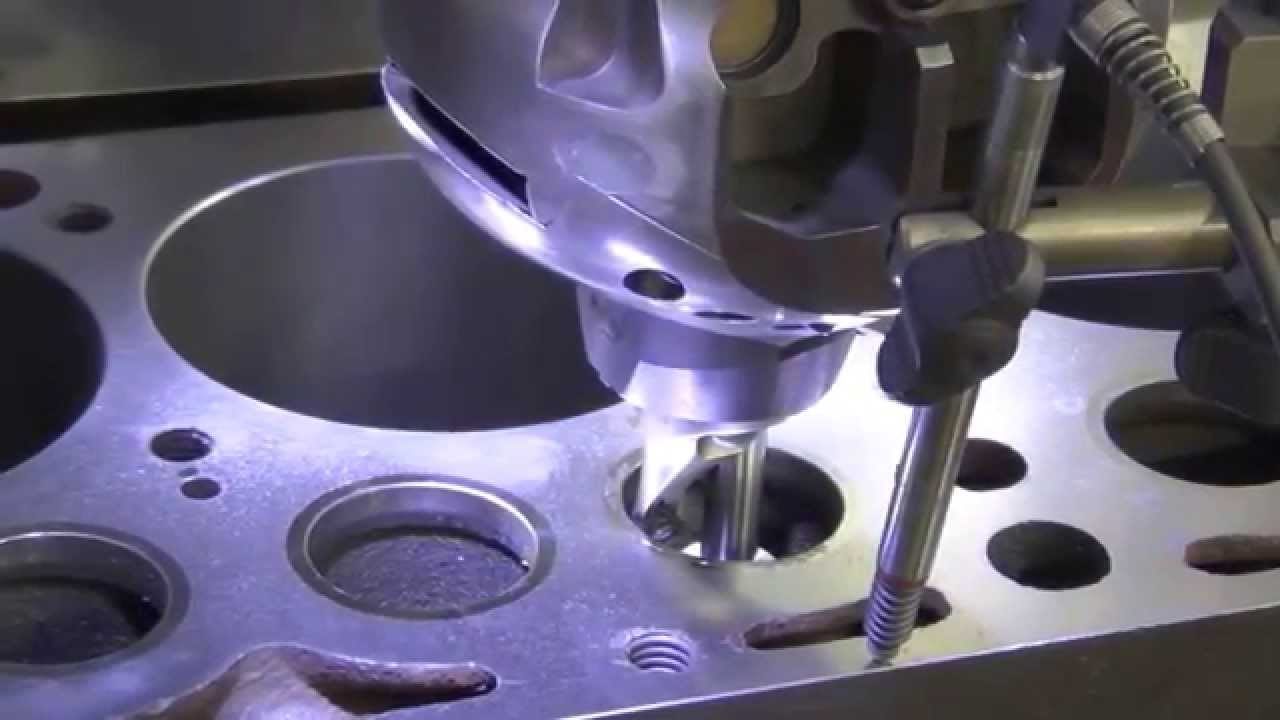 iately.
 iately.
(4) Insert valve seat ring. This should be done after the valve guide is replaced. The roundness of the outer surface of the valve seat ring must be correct, the deviation between roundness and cylindricity should not be greater than 0.01 mm, and the roughness Ra should not be greater than 1.6 μm. After the valve seat ring is inserted, the higher part of the valve seat ring should be checked and trimmed so that it does not exceed the plane of the cylinder head or block. The center of the valve seat should be consistent with the center of the valve guide, and the deviation should not exceed 0. 03 mm. After the valve seat ring is properly set, it is necessary to ream and grind the valve.
(5) Valve seat ring bearing hole process requirements. When replacing the valve seat ring, check whether the valve seat ring bearing hole meets the technical requirements. Valve seat ring bearing hole roundness and cylindricity deformation is greater than 0. 025mm should be machined and trimmed, with the corresponding size of the valve seat ring. The valve seat ring and bearing hole have two enlarged sizes, each of which is 0. 50 mm. When dressing the bearing hole of the valve seat ring, the bottom of the bearing hole should be flat and the roundness is correct. The lower orifice may be slightly larger than the upper orifice, and the valve seat is not easy to loosen after being pressed. Bearing hole surface should be smooth, roughness Ra not more than 1.6 μm, roundness deviation not more than 0. 025 mm. The fitting interference of valve seat ring and bearing hole is generally 0.07 ~ 0.16 mm. Too small, not close, easy to loose; Too large, in the Mosaic will be squeezed to cut a layer of metal, also not firm.
2. Hinged valve seat
Valve and valve seat ring contact sealing belt, inlet valve working width is generally 1. 0 ~ 2.2 mm, exhaust valve is generally 1.5 ~ 2.5 mm. When the valve sealing belt is worn wider than 3 mm and ablative pits appear in the contact belt cannot be eliminated by grinding method, a special valve seat reamer should be used to reunite the valve seat cone. When hinged valve, in order to ensure that the valve and the seat have the correct contact position and the width of the contact mark, special attention should be paid to the hinge center line of the valve seat and the center line of the valve guide, the reamer is inserted into the valve guide to determine the center of the reamer rod. Therefore, the valve seat should be hinged after the valve guide is inserted and hinged. The hinge of the valve seat can be divided into initial hinge, fine hinge and light grinding. It is required to ensure the Angle and roughness of the working face. The process is as follows:
(1) Before the reamer is hinged, in order to prevent the reamer from slipping, the emery cloth should be sanded under the knife to remove the hardened layer.
(2) Initial hinge: if the valve Angle is 45°, the reamer of 45° (60° reamer is used when the valve Angle is 30°) can be set on the guide rod, so that the keyway of the reamer is aligned with the flange of the lower end face of the reamer, and then the reamer can be hinged. When the reamer is hinged, the reamer should be upright and the two hands should be evenly balanced until the ablations, spots and other defects are hinged away.
(3) Test: for the valve test after polishing, check the width of the working belt and the contact position on the valve head. The contact surface is required to be in the middle and lower part of the valve incline. If the contact position is too low, the lower mouth is hinged with a 75° reamer; if the position is too high, the upper mouth is hinged with a 15° reamer. Each time the 15° or 75° cone is hinged, the original width of the 45° working band will be changed, and this process is repeated until the contact position and the width of the working band meet the requirements.
(4) Fine hinge: finally use 45° (60° reamer when working surface is 30°) fine edge reamer or cushion reamer with fine emery cloth to make fine repair hinge again, in order to improve the quality and surface roughness of the contact surface.
(5) Light grinding: the process of polishing with grinding wheel is the same as that of hinging. The difference is that the grinding wheel is used instead of the reamer, and the flashlight is used instead of manual operation.
3. Repair grinding valve seat
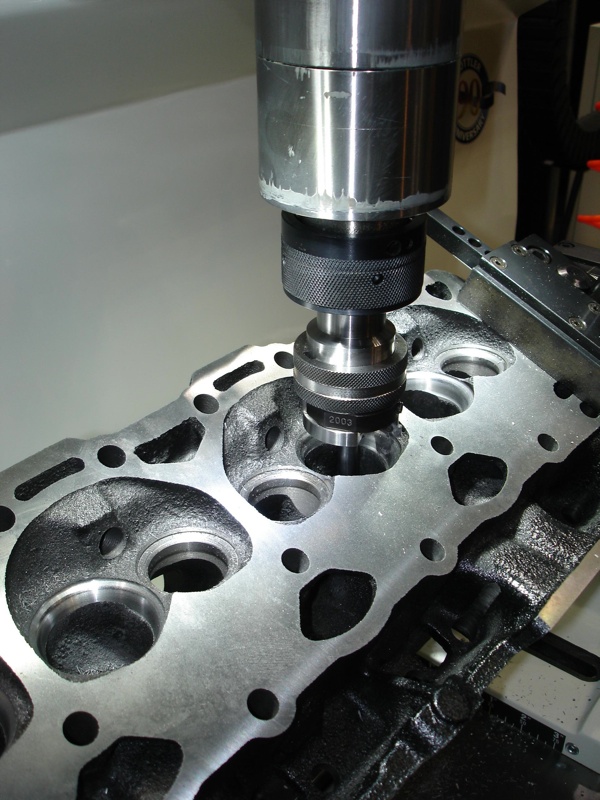
Some valve seat material is very hard, can not be hinged, but with high-speed grinding machine light grinding processing. During grinding, the valve guide is used as the positioning reference, and the valve seat is repaired with the same grinding wheel with the same Angle of each working face of the valve seat. The grinding sequence for each Angle of the valve seat is the same as when reaming. Its operation process is as follows:
(1) Select and dress the grinding wheel: select the appropriate grinding wheel according to the Angle of the valve seat working surface, and use the grinding wheel dresser to dress the working surface of the grinding wheel according to the requirements of the working surface Angle.
(2) Installation: install the dressed grinding wheel on the shaft end of the polishing machine, and then install the guide rod in the valve guide tube, and drop a little oil.
(3) Grinding: repair grinding with starting motor. When repairing and grinding, the motor should be straight and smooth, and the downward pressure should be slight. The contact time between grinding wheel and valve seat should not be too long, and it should be tested and checked while grinding. To stop the operation, the motor should be shut down first and then removed after the grinding wheel stops rotating.

